Registrar un dominio en Namecheap y configurar los DNS del alojamiento.
He registrado un Dominio en Namecheap.
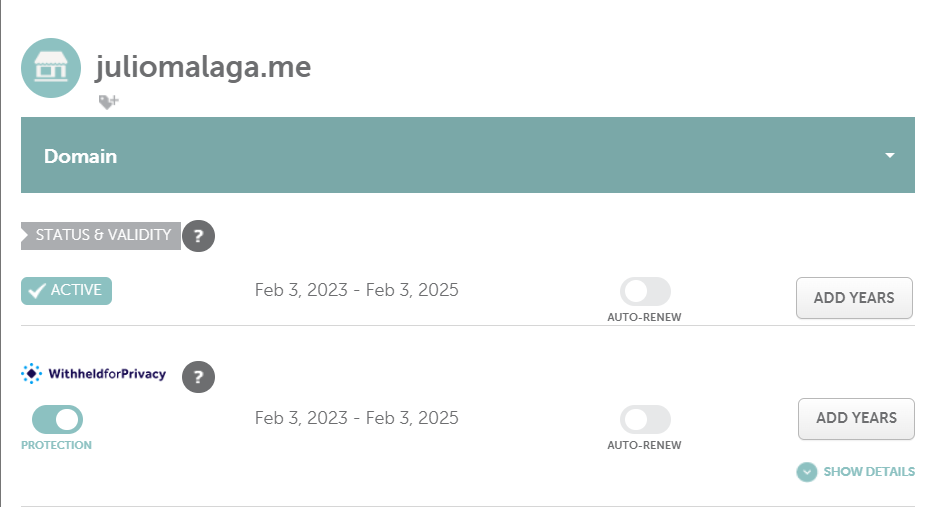
He configurado las DNS para el alojamiento.

DNS en Digital Ocean.

SET UP SERVER ON THE DIGITALOCEAN DROPLET:
- Instalar LAMP/LEMP
He instalado una versión LAMP/LEMP de Ubuntu del marketplace de DigitalOcean

- Creación de nuevo usuario y añadirlo al grupo sudo.
He creado el usuario Julio y lo he añadido al grupo sudo ya tengo los privilegios de super usuario

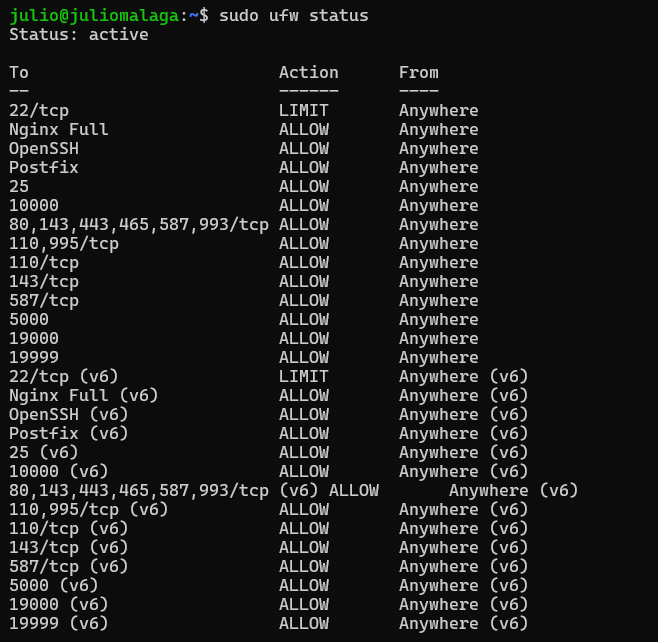
- Configurar un firewall básico.
# ufw app list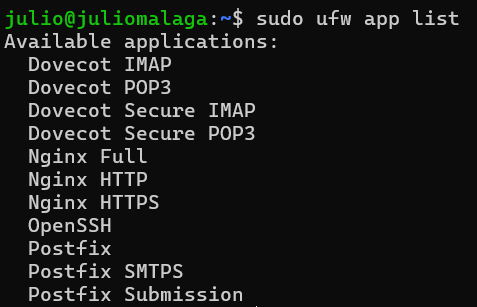
Ya tenía algunas entradas configuradas.
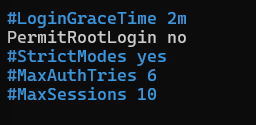
- Deshabilitar el acceso del usuario root por ssh
$ sudo nano /etc/ssh/sshd_configMediante este comando entramos en sshd_config y modificamos PermitRootLogin a no
- Instalar el servidor de correo Postfix y añadir un registro SPF
He configurado Postfix según https://www.digitalocean.com/community/tutorials/how-to-install-and-configure-postfix-on-ubuntu-20-04-es#paso-2-cambiar-la-configuracion-de-postfix
No lo puedo poner aquí por motivos de seguridad pero está correcto.
He probado el funcionamiento de Postfix y ha dado el siguiente resultado.

He configurado /etc/profile.d mail.sh

Al final del archivo /etc/s-nail.rc he añadido
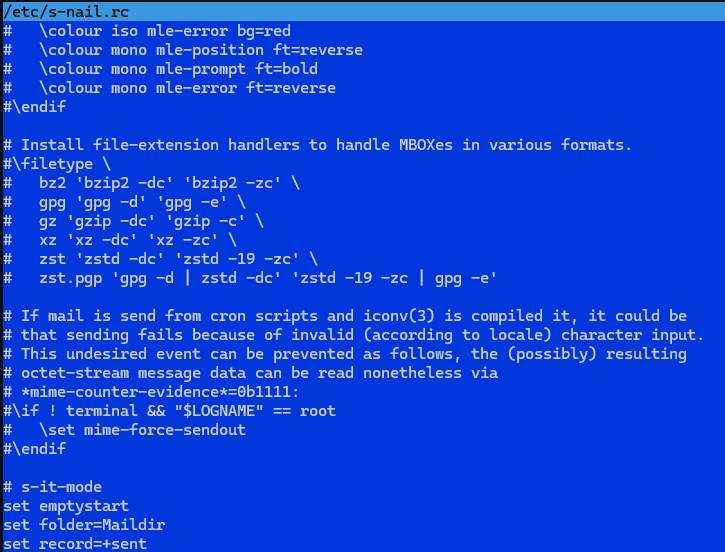
Al final set emptystart, set folder= Maildir, set record=+sent
Ya me confirma que he recibido nuevo correo

Verificamos para asegurar que el directorio se creó buscando mi directorio ~/Maildir
ls -R ~/Maildir

Para abrir el cliente, ejecutamos s-nail y veremos una bandeja rudimentaria.

Puedo ver mis mensajes enviados en mi cliente s-nail después de usar
cat ~/test_message | s-nail -s 'Test email subject line' -r contact@example.com user@email.com

Nota: No he logrado que me funcione correctamente hasta que he configurado Brevo.


- Instalar un certificado con Let’s Encrypt para usar https:
Después de seguir todos los pasos ha quedado como la imagen y se renueva periódicamente.

- Proteger el servidor con fail2ban. Instalar Fail2Ban.
En fail2ban configuration he creado el archivo jail.local con
sudo cp /etc/fail2ban/jail.{conf,local}
y le he introducido algunos cambios en la configuración
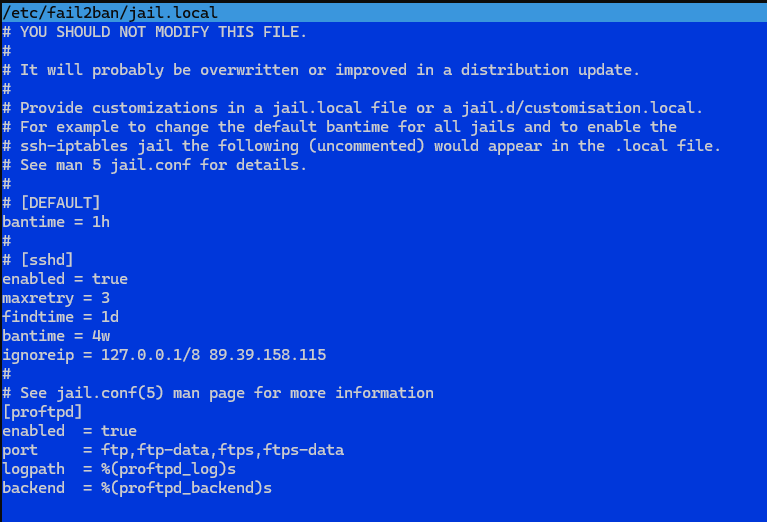
Una vez instalado se ve que está en funcionamiento.

Un ejemplo de que está funcionando.

He instalado Webmin con apt-get install webmin --install-recommends Una vez seguidos todos los pasos así queda Webmin. Que le he instalado el módulo Nginx.
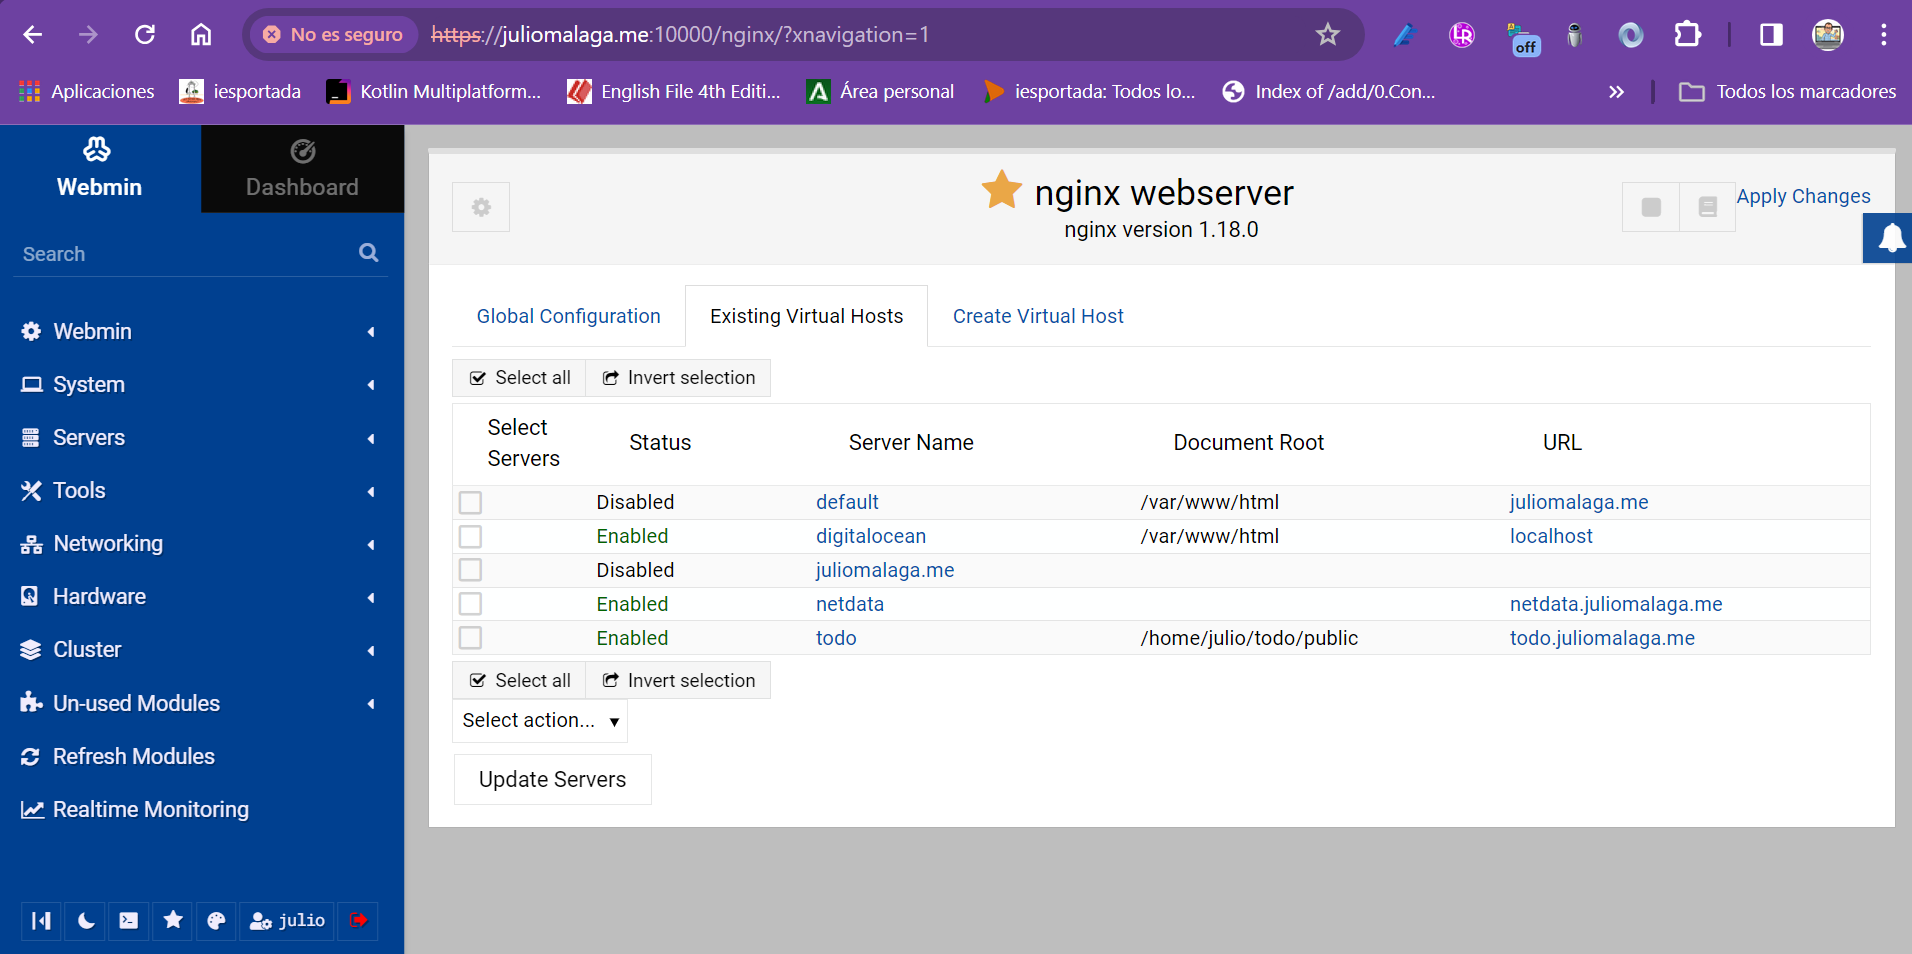
Para configurar un virtual host he seguido los siguientes pasos.
sudo mkdir -p /var/www/ejemplojulio/html
sudo chown -R $USER:$USER /var/www/ejemplojulio/html
sudo chmod -R 755 /var/www/ejemplojulio
<html>
    <head>
        <title>Welcome to ejemplojulio</title>
    </head>
    <body>
        <h1>Success!  The ejemplojulio server block is working!</h1>
    </body>
</html>
sudo nano /etc/nginx/sites-available/ejemplojulio
----------------------------------
server {
        listen 80;
        listen [::]:80;

        root /var/www/ejemplojulio/html;
        index index.html index.htm index.nginx-debian.html;

        server_name ejemplojulio.juliomalaga.me www.ejemplojulio.juliomalaga.me;

        location / {
                try_files $uri $uri/ =404;
        }
}
-------------------------------
sudo ln -s /etc/nginx/sites-available/ejemplojulio /etc/nginx/sites-enabled/
--------------------------------
sudo nano /etc/nginx/nginx.conf
---------------------------------
...
http {
    ...
    server_names_hash_bucket_size 64;
    ...
}
...
------------------------
sudo nginx -t
---------------------------
sudo systemctl restart nginx

Resultado del conmando sudo nginx -t

Resultado del comando systemctl status nginx
Le pedimos el certificado
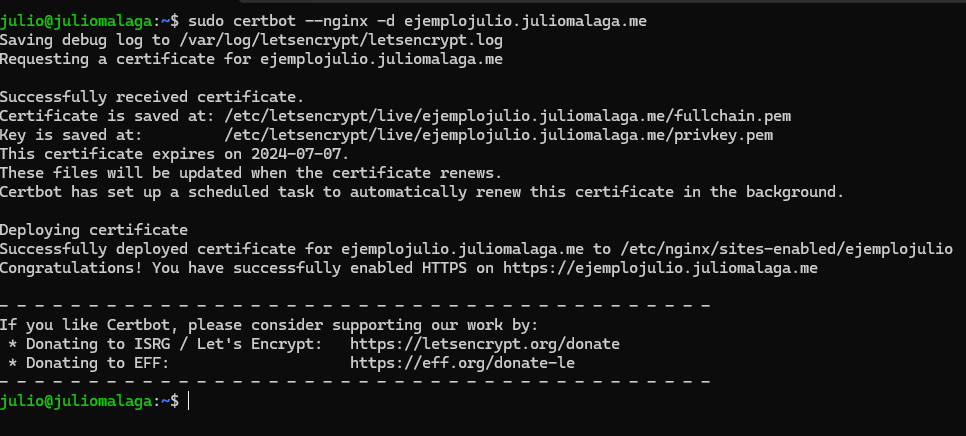
Comprobamos el funcionamiento del servidor virtual con https://ejemplojulio.juliomalaga.me

- Usar netdata para monitorizar el funcionamiento del servidor y configurarlo.
He instalado Netdata con
wget -O /tmp/netdata-kickstart.sh https://get.netdata.cloud/kickstart.sh && sh /tmp/netdata-kickstart.sh --prepare-offline-install-source ./netdata-offline
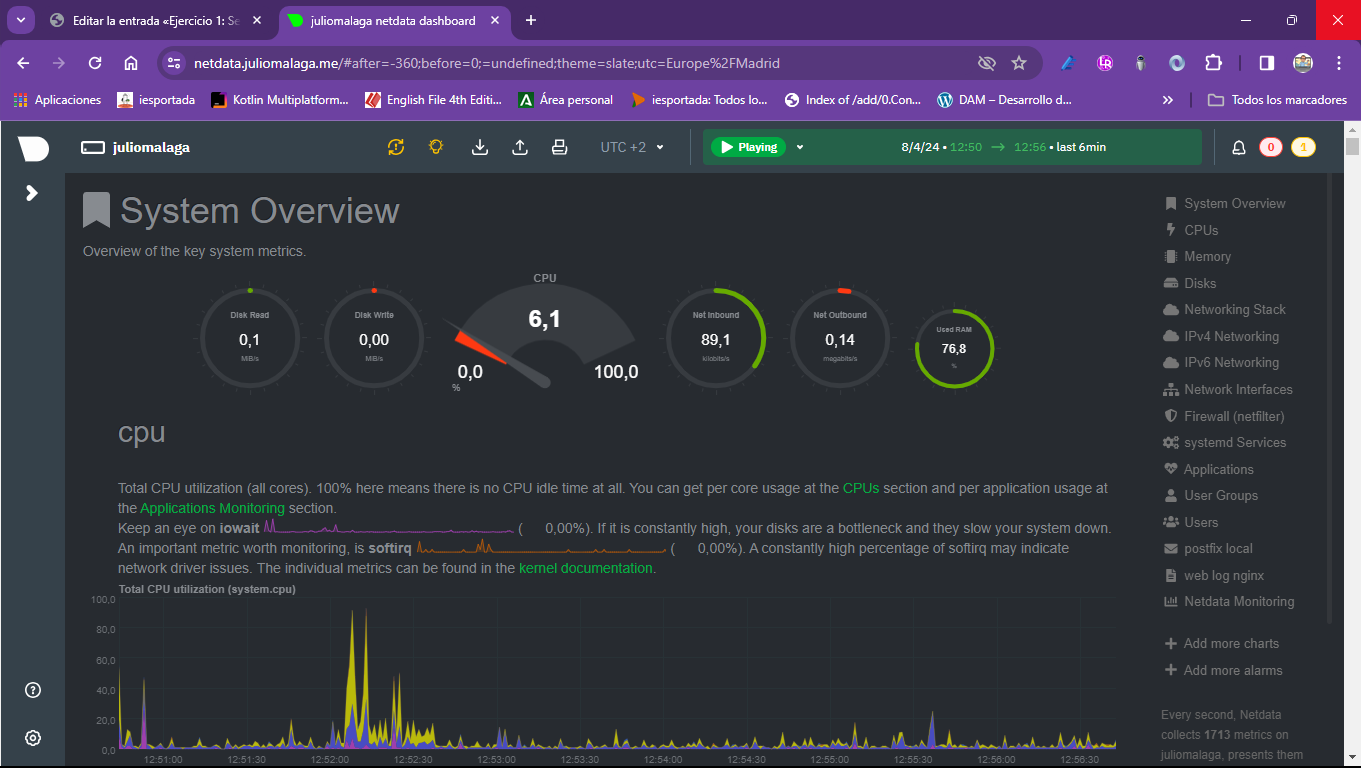
Probé el funcionamiento para acceder a Nedata vía http://juliomalaga.me:19999/
CONFIGURAR UN PROXY PARA ACCEDER A NETDATA VIA NGINX
Mediante Webserver he creado un servidor virtual netdata.juliomalaga.me y lo he configurado con el siguiente código:
upstream backend {
    # the Netdata server
    server 127.0.0.1:19999;
    keepalive 1024;
}

server {
    # nginx listens to this
    # uncomment the line if you want nginx to listen on IPv6 address
    #listen [::]:80;

    # the virtual host name of this
    server_name netdata.juliomalaga.me;

    location / {
        proxy_set_header X-Forwarded-Host $host;
        proxy_set_header X-Forwarded-Server $host;
        proxy_set_header X-Forwarded-For $proxy_add_x_forwarded_for;
        proxy_pass http://backend;
        proxy_http_version 1.1;
        proxy_pass_request_headers on;
        proxy_set_header Connection "keep-alive";
        proxy_store off;
    }

    listen 443 ssl; # managed by Certbot
    ssl_certificate /etc/letsencrypt/live/netdata.juliomalaga.me/fullchain.pem; # managed by Certbot
    ssl_certificate_key /etc/letsencrypt/live/netdata.juliomalaga.me/privkey.pem; # managed by Certbot
    include /etc/letsencrypt/options-ssl-nginx.conf; # managed by Certbot
    ssl_dhparam /etc/letsencrypt/ssl-dhparams.pem; # managed by Certbot


}


server {
    if ($host = netdata.juliomalaga.me) {
        return 301 https://$host$request_uri;
    } # managed by Certbot

    # ...
    auth_basic "Protected";
    auth_basic_user_file passwords;
    # ...


    listen 80;
    server_name netdata.juliomalaga.me;
    return 404; # managed by Certbot


}
Eliminar regla del cortafuegos con
sudo ufw status numbered
sudo ufw delete N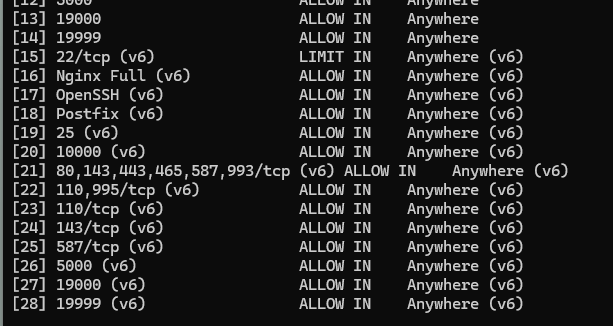
PONER USUARIO Y CONTRASEÑA PARA ACCEDER A NETDATA
sudo su
printf "julio:$(openssl passwd -apr1)" > /etc/nginx/passwords
-----------
Y EN EL ARCHIVO DE CONFIGURACIÓN DEL SERVIDOR VIRTUAL

upstream backend {
    # the Netdata server
    server 127.0.0.1:19999;
    keepalive 1024;
}

server {
    # nginx listens to this
    # uncomment the line if you want nginx to listen on IPv6 address
    #listen [::]:80;

    # the virtual host name of this
    server_name netdata.juliomalaga.me;

    location / {
        proxy_set_header X-Forwarded-Host $host;
        proxy_set_header X-Forwarded-Server $host;
        proxy_set_header X-Forwarded-For $proxy_add_x_forwarded_for;
        proxy_pass http://backend;
        proxy_http_version 1.1;
        proxy_pass_request_headers on;
        proxy_set_header Connection "keep-alive";
        proxy_store off;
    }

    listen 443 ssl; # managed by Certbot
    ssl_certificate /etc/letsencrypt/live/netdata.juliomalaga.me/fullchain.pem; # managed by Certbot
    ssl_certificate_key /etc/letsencrypt/live/netdata.juliomalaga.me/privkey.pem; # managed by Certbot
    include /etc/letsencrypt/options-ssl-nginx.conf; # managed by Certbot
    ssl_dhparam /etc/letsencrypt/ssl-dhparams.pem; # managed by Certbot


}


server {
    if ($host = netdata.juliomalaga.me) {
        return 301 https://$host$request_uri;
    } # managed by Certbot


    auth_basic "Protected";
    auth_basic_user_file passwords;


    listen 80;
    server_name netdata.juliomalaga.me;
    return 404; # managed by Certbot


}

INSTALAMOS EL CERTIFICADO SSL:
// sustituir alumno.me por el dominio usado
sudo certbot --nginx -d netdata.juliomalaga.me
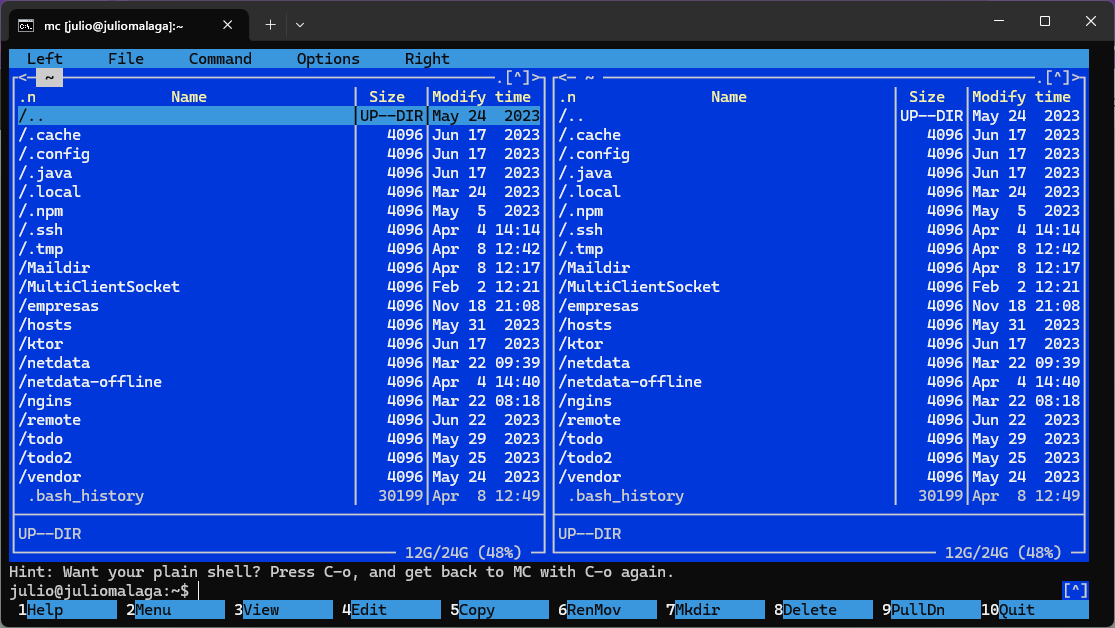
- Instalación de mc
sudo apt install mc
Deja una respuesta